An ebike spring tune up checklist should cover the parts that winter storage, cold weather, moisture, and early-season neglect can affect most: the battery, brakes, tires, drivetrain, bolts, controls, lights, and firmware. Start with a slow visual inspection, then work through the bike system by system before you trust it for commuting, errands, or longer weekend rides.
Quick answer: Before riding your e-bike in spring, charge and inspect the battery, check tire pressure and sidewalls, test both brakes, clean and lubricate the drivetrain, confirm all bolts and accessories are secure, verify lights and controls, and take a short low-speed test ride before heading into traffic or hills.
Spring is when small storage problems show up. A brake lever can feel soft, a chain can sound dry, tire pressure can drop, and a battery that seemed fine in the garage may sag under load. The goal is not to rebuild the whole bike; it is to catch the obvious stuff before it becomes expensive, unsafe, or annoying.
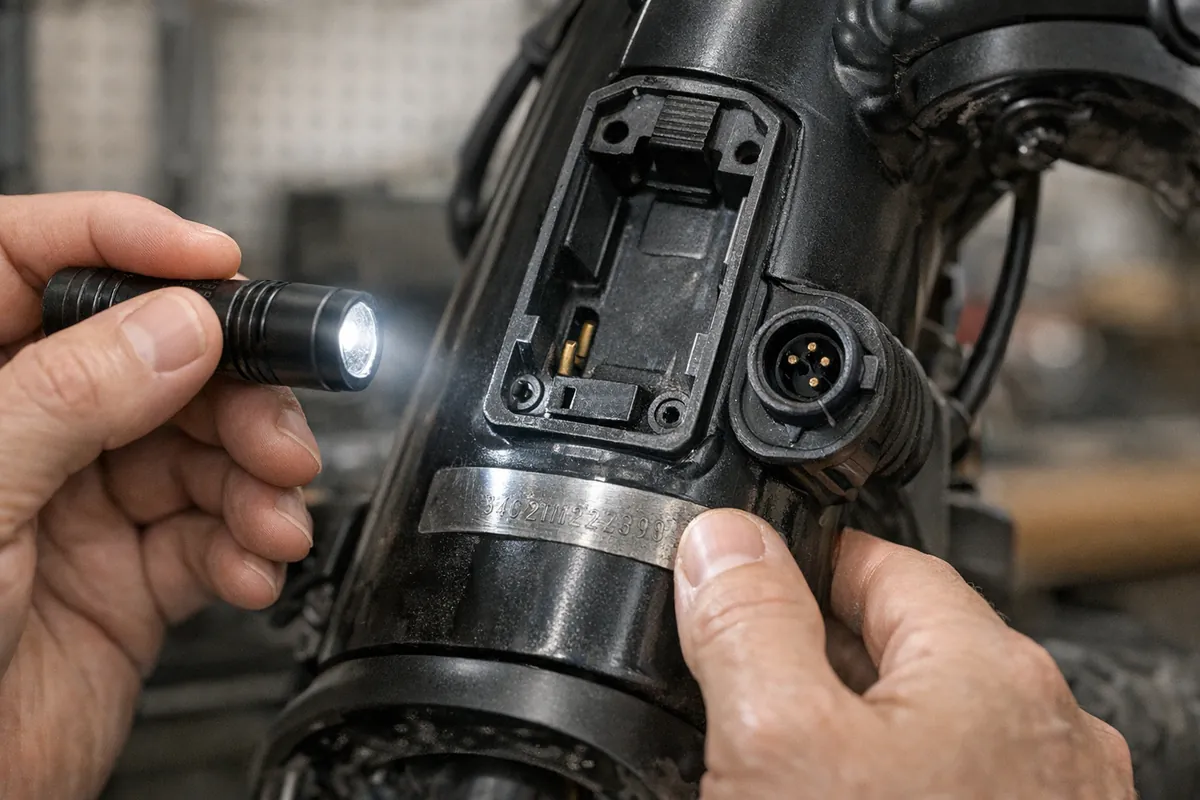
Use this as a practical first-pass inspection. If the bike was stored outside, ridden through winter, exposed to road salt, crashed, flooded, or left with a deeply discharged battery, be more cautious and consider a professional shop check.
| Area | What to Check | Why It Matters |
|---|---|---|
| Battery | Charge level, case condition, terminals, mount fit, charger behavior | Storage and cold weather can expose weak cells, loose mounts, or charging problems |
| Brakes | Pad thickness, rotor rub, lever feel, stopping power | E-bikes are heavier and faster than standard bikes, so weak brakes show up quickly |
| Tires | Pressure, cracks, embedded debris, tread, bead seating | Low or damaged tires reduce range, handling, and flat resistance |
| Drivetrain | Chain lube, grime, shifting, chain wear, derailleur alignment | A dry or dirty drivetrain wastes power and can wear parts faster |
| Fasteners | Axle nuts, stem, handlebar, seatpost, rack, fenders, battery mount | Loose hardware can turn a small rattle into a serious failure |
| Electronics | Display, assist levels, throttle if equipped, lights, sensors, firmware | Electrical issues are easier to catch at home than halfway into a ride |
The battery is the first spring check because it is both expensive and central to the ride. Look over the case for cracks, swelling, impact marks, moisture, or a burnt smell. Make sure the battery locks firmly into its mount and does not rattle when you lift the rear of the bike or roll it over uneven ground.
Charge the battery in a dry, supervised area using the correct charger. Watch for unusual heat, repeated charger errors, damaged cords, or a charge level that drops unusually fast once you ride. For deeper battery care habits, including storage and charging basics, see our guide to e-bike battery maintenance.
Do not force a questionable battery back into service. If the case is swollen, cracked, wet inside, or behaving unpredictably, stop using it and follow the manufacturer’s safety guidance. A spring tune up is partly about confidence; a suspicious battery is not a “wait and see” part.
Safety note: If your e-bike was stored with a fully dead battery for months, exposed to flooding, or charged with a mismatched charger, treat the electrical system as suspect until it has been inspected. When in doubt, involve the bike manufacturer, battery maker, or a qualified e-bike shop.
A dirty e-bike hides problems. Before you start diagnosing squeaks and rattles, wipe down the frame, drivetrain area, wheels, brake calipers, and battery mount. You are looking for cracks, corrosion, frayed wires, loose zip ties, worn cable housing, and anything that moved out of place during storage.
Keep water pressure gentle around the motor, display, battery contacts, controller area, and connectors. A bucket, soft brush, microfiber cloth, and bike-safe cleaner are usually enough. If you want the safer wash sequence, use our guide on how to wash an e-bike before you spray anything near the electronics.
Tires often lose pressure during storage, even when nothing is wrong. Inflate them to the pressure range printed on the sidewall, then adjust within that range for rider weight, cargo, comfort, and terrain. Do not rely on a squeeze test; e-bike tires can feel firm by hand and still be underinflated.
Inspect both tires for sidewall cracks, dry rot, bulges, cuts, exposed casing, or sharp debris stuck in the tread. Spin each wheel and watch for wobbles, rubbing, or a tire bead that does not sit evenly. If your first spring rides will be longer than a neighborhood loop, make sure your on-bike flat kit is still complete; our guide to what to carry for an e-bike flat tire covers the basics.
Brake checks deserve their own moment because e-bikes ask more from the braking system than casual pedal bikes. Look at pad thickness, rotor condition, caliper alignment, and lever feel. If the lever pulls close to the grip, the bike squeals badly, or the wheel keeps spinning when you squeeze the brake, sort that out before riding fast.
For disc brakes, check that the rotors are not visibly bent and that the pads are not contaminated with oil or cleaner. For mechanical brakes, make sure the cable action is smooth and the housing is not cracked. Hydraulic brakes should feel firm, not spongy. If you are not sure whether the pads are done, compare your symptoms with our guide on how often to replace e-bike brake pads.
If anything feels inconsistent, stop there. Spring enthusiasm is not a substitute for reliable stopping power.
The chain, cassette, chainring, derailleur pulleys, and shifter all deserve attention before spring miles pile up. Wipe off old grime, apply the right chain lube for your conditions, then wipe away the excess. A chain should be lubricated inside the rollers, not dripping onto the frame, brakes, or floor.
Shift through every gear while the rear wheel is off the ground or during a careful test ride. Hesitation, skipping, noisy cross-chaining, or a chain that wants to jump under load can point to cable tension issues, worn parts, or a bent derailleur hanger. On mid-drive e-bikes, drivetrain wear can show up faster because motor power runs through the chain; that makes a clean, well-adjusted drivetrain even more important.
Go over the bike with the correct tools and the manufacturer’s torque guidance where available. Pay attention to the handlebar, stem, headset, seatpost, saddle clamp, pedals, crank arms, axle hardware, rack mounts, fenders, kickstand, bottle cages, and battery mount.
A spring tune up is a good time to remove mystery rattles. Lift the bike a few inches and gently set it down. If something clacks, knocks, or buzzes, find it before a long ride. Accessories are common offenders: racks, baskets, fenders, locks, mirrors, and phone mounts can all loosen during storage or transport.
Practical callout: Use the right size hex key and avoid guessing with high-force tightening. Over-tightening can damage stems, seatposts, brake mounts, and lightweight parts. If the bike has carbon components or manufacturer torque specs, use a torque wrench.
Power the bike on and work through each assist level. Check the display, buttons, brake cutoffs, throttle if your bike has one, walk mode if equipped, headlight, taillight, brake light, turn signals if present, and any app-connected features. If your e-bike uses a speed sensor magnet, make sure it is aligned and secure.
Look closely at exposed wiring near the handlebar, fork, rear dropout, motor, and battery cradle. Cables should not be pinched, stretched, cracked, or rubbing on the tire. If your bike has firmware updates, read the manufacturer notes before installing them. Updates can be useful, but you want enough battery charge and a stable connection before starting.
Your first ride should be boring on purpose. Choose a quiet street, parking lot, or neighborhood loop and ride with a little restraint. Test braking, steering, shifting, assist levels, coasting, and low-speed handling before you add traffic, cargo, hills, or full-speed commuting.
Listen for new noises and feel for anything loose. A faint drivetrain sound may just need adjustment, but a clunk from the front end, sudden brake fade, wheel wobble, battery rattle, or power cutting in and out deserves immediate attention. The first ride is part of the tune up, not the reward after it.
A home spring tune up works well for basic inspection and light maintenance. It is not a substitute for professional service when the problem involves structural damage, electrical faults, brake bleeding, wheel truing, motor error codes, battery damage, or unclear drivetrain wear.
Book a shop visit if you find cracked frame areas, damaged rims, loose spokes you cannot tension properly, leaking hydraulic brakes, persistent rotor rub, a battery that will not charge normally, or assist that cuts out unpredictably. The heavier and faster your e-bike is, the less tolerance you should have for uncertain safety issues.
Do the full checklist before your first meaningful spring ride, then repeat the fast version after a few rides. Parts settle, cables stretch, bolts reveal themselves, and tires can lose pressure after sitting. A five-minute follow-up check often catches what the first inspection missed.
For regular riders, a simple rhythm works well: pressure and brakes weekly, drivetrain every few rides, bolts and accessories monthly, battery behavior every time you charge. That sounds like a lot, but it becomes quick once you know what normal feels like on your own bike.
A good ebike spring tune up checklist is not complicated. Charge and inspect the battery, clean the bike, check tires and brakes, lubricate the drivetrain, tighten key hardware, verify electronics, and finish with a short shakedown ride. The payoff is simple: fewer surprises, better range, quieter riding, and a bike that feels ready instead of merely uncovered from storage.